
First you need to download and install the program. Download the Installer. Please make sure that you have the latest Java Runtime Environment installed aswell. After it's on your PC install it like every other Program.
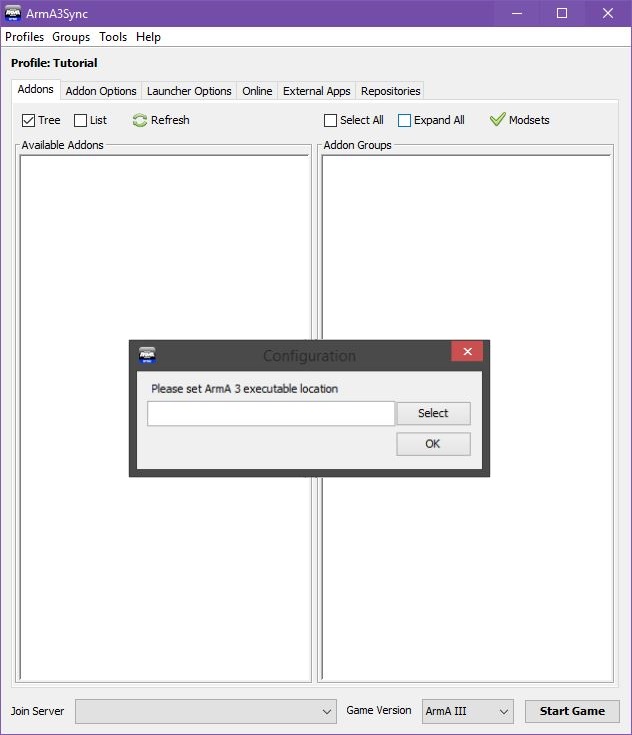
Now launch it. You will see a window like this:
|
Click on select and search for your arma3_x64.exe (usually in C:\Program Files (x86)\Steam\steamapps\common\Arma 3\arma3_x64.exe) and click on open. |
The next thing you want to do is to tell the Program where new mods will be downloaded to. Click on "Addon Options".

|
Here you click the blue"+" button. Now direct wherever you want the mods to be downloaded to (make sure you have enough space. About 30GB should be available!). Please make sure to use a different Folder than the Arma 3 Insatllation folder. We often encountered that people have problems with Arma3Sync deleting files it was not suppoed to. |
After that we are going to configure the launcher. I give you a little suggestion how I set up my launcher:

|
|
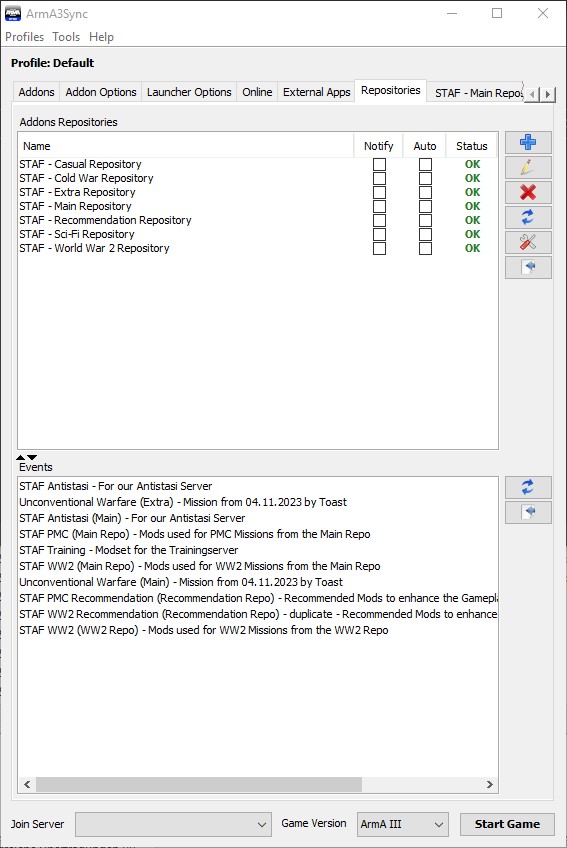
Okay, let's start with the really interesting part. Go on "Repositories" and click the blue "+". On "Public auto-config url" you post this URL:

|
|
|
|